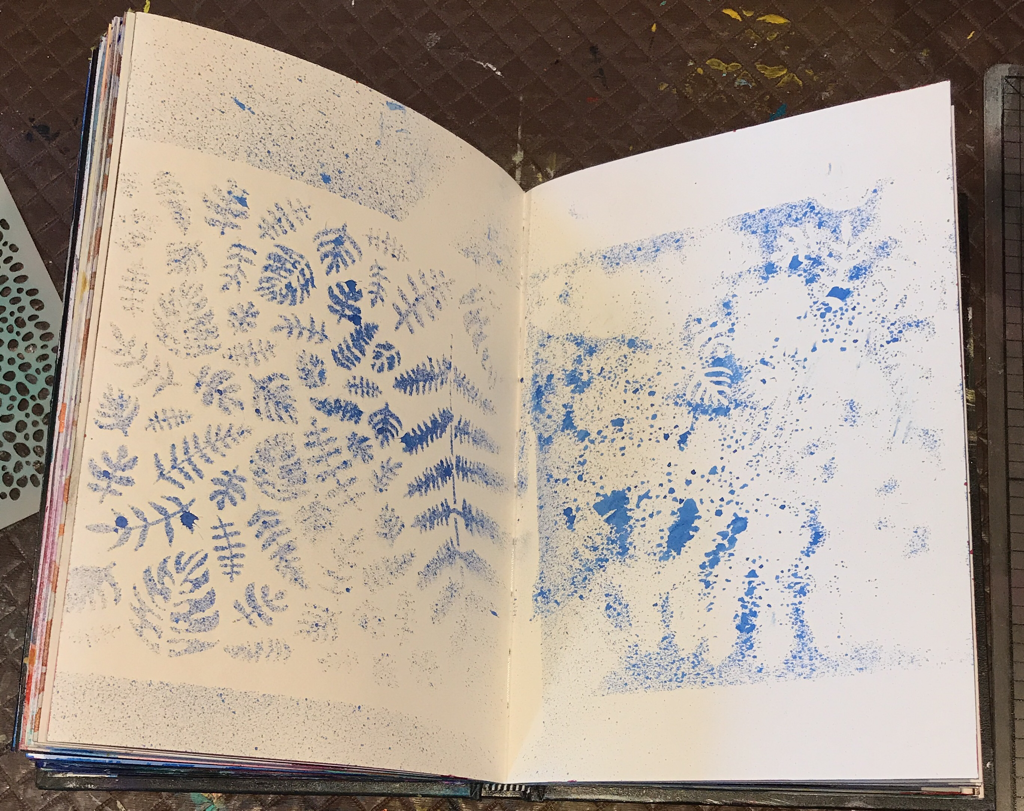
 I started with a page that had some stencil clean up on it. 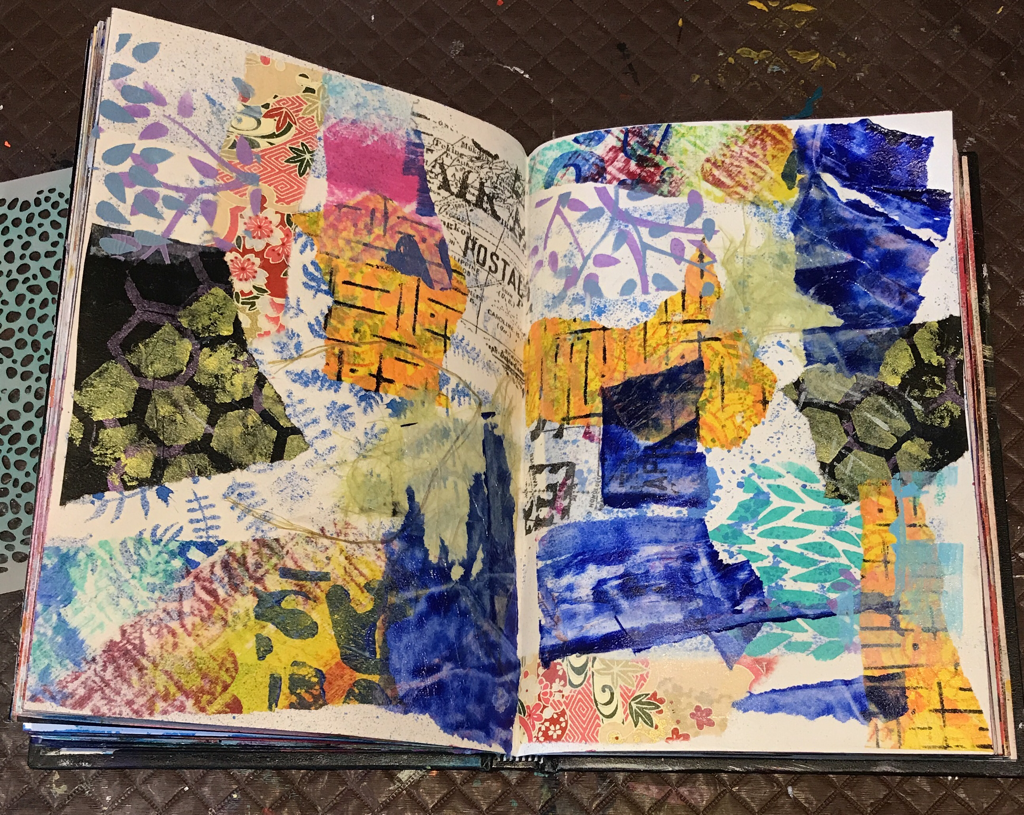 Step 1. I used left over tissue gelli prints and some decorative papers and collaged over both pages using gel medium as the glue. I apply the medium under and over the tissue prints to ensure great adhesion. 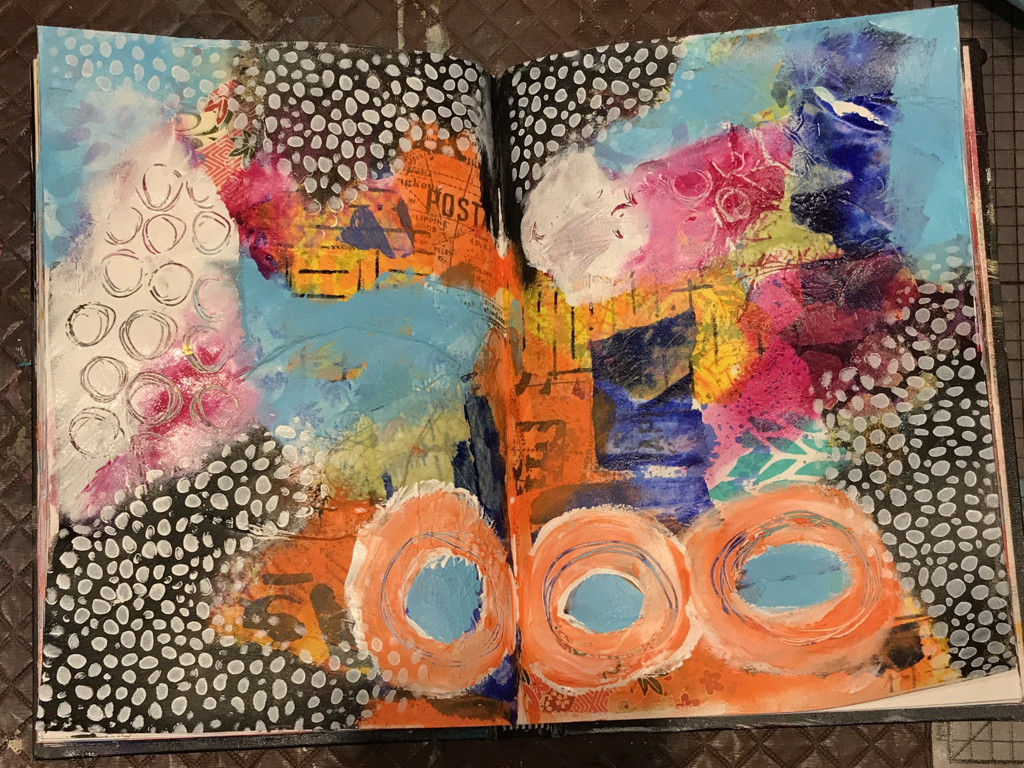 Step2. I chose a complementary colour scheme (blue/orange), and some rose red, black and white and finger painted. I drew into the paint with a wooden skewer. I stencilled over the black. 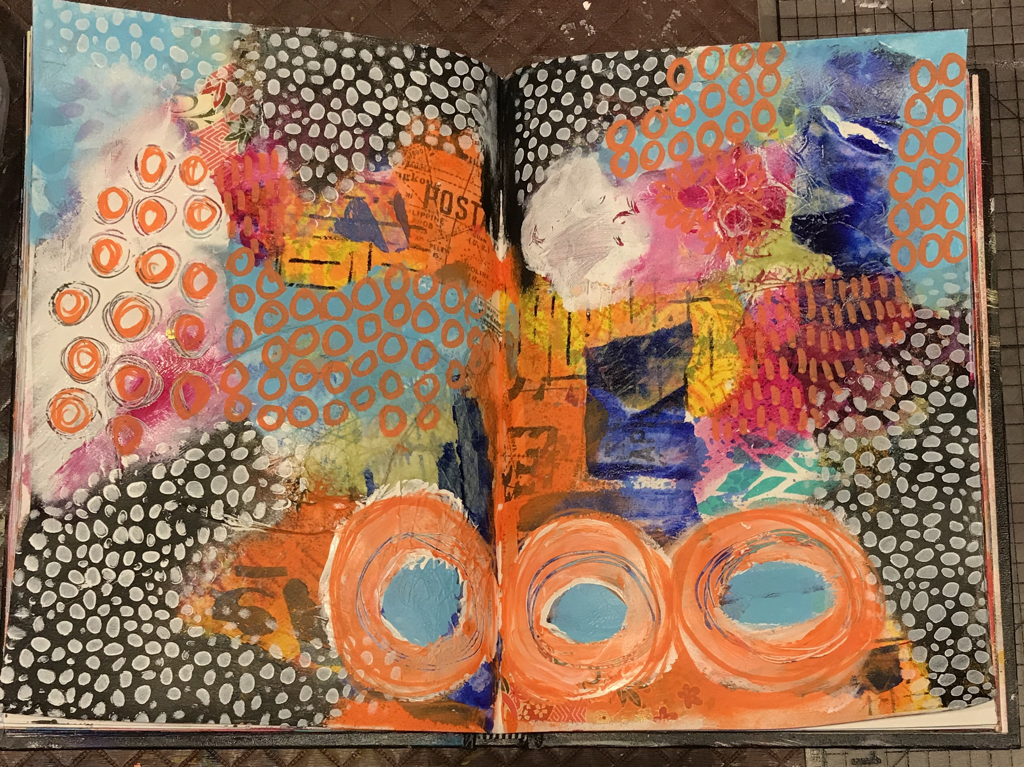 Step 3. Lots of doodling with Posca paint pens. 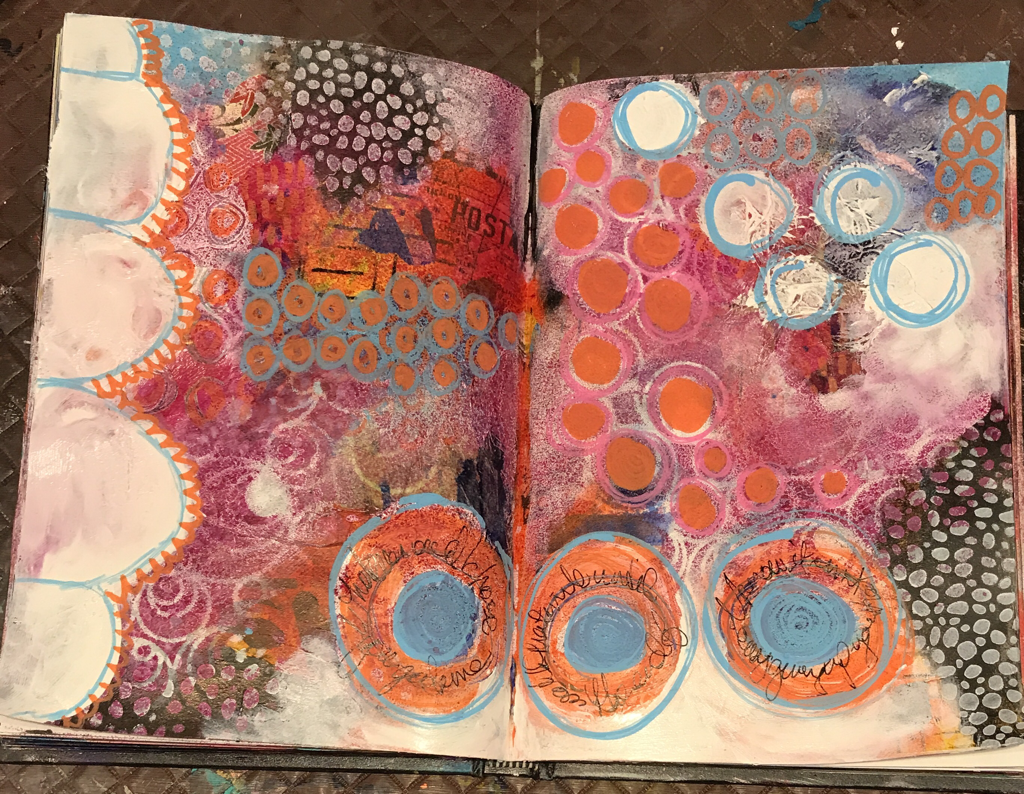 Step 4. A few changes occurred here. First I sprayed through a stencil using a Mixed Media Art Spray in 'Bordeaux'. I added more paint and cut a border stencil from thick card and painted a scalloped border. And I doodled some more with the Poscas. 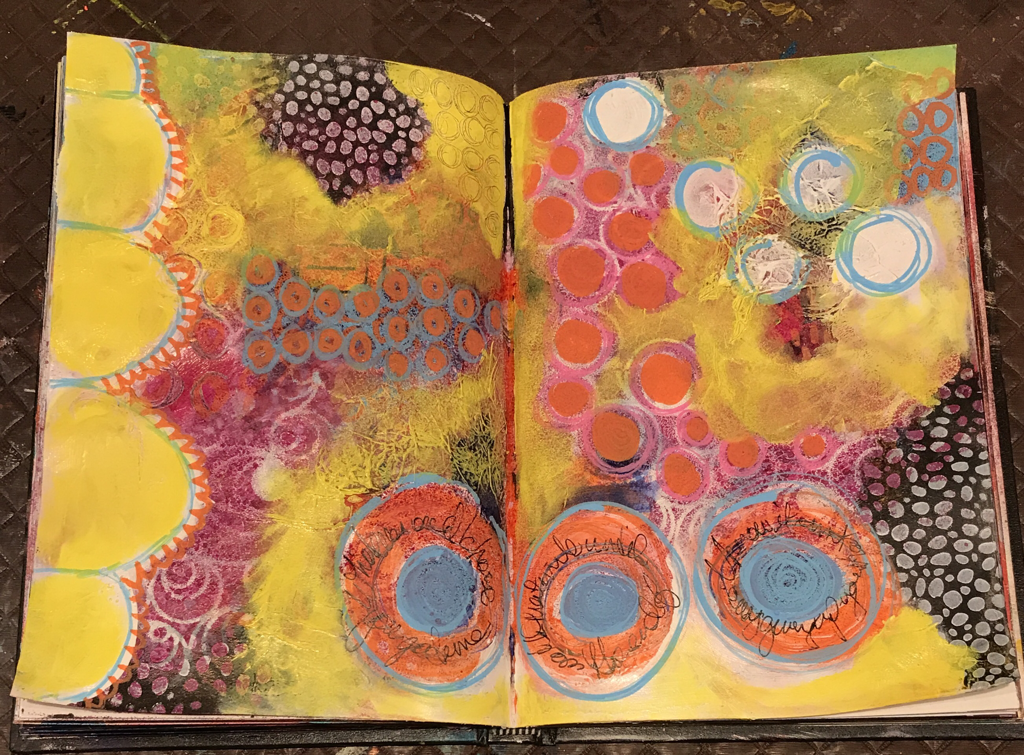 Step 5, I finished off with some more finger painting in yellow. Hope you like it.
0 Comments
 This work began with stamping and art foamies. Then I finger painted with Dylusions Squeezed orange, added some doodling with orange paint pens and the next layer was finger painting in Liquitex basics paints in cobalt blue, brilliant yellow green, bright aqua green and light blue.
Next I stencilled in black, a bit more finger painting and finally doodled with Posca paint pens. Hope you like it.  The page had remnants of plastic bag monoprints, some yellow paint and the ghost image of a stencil. 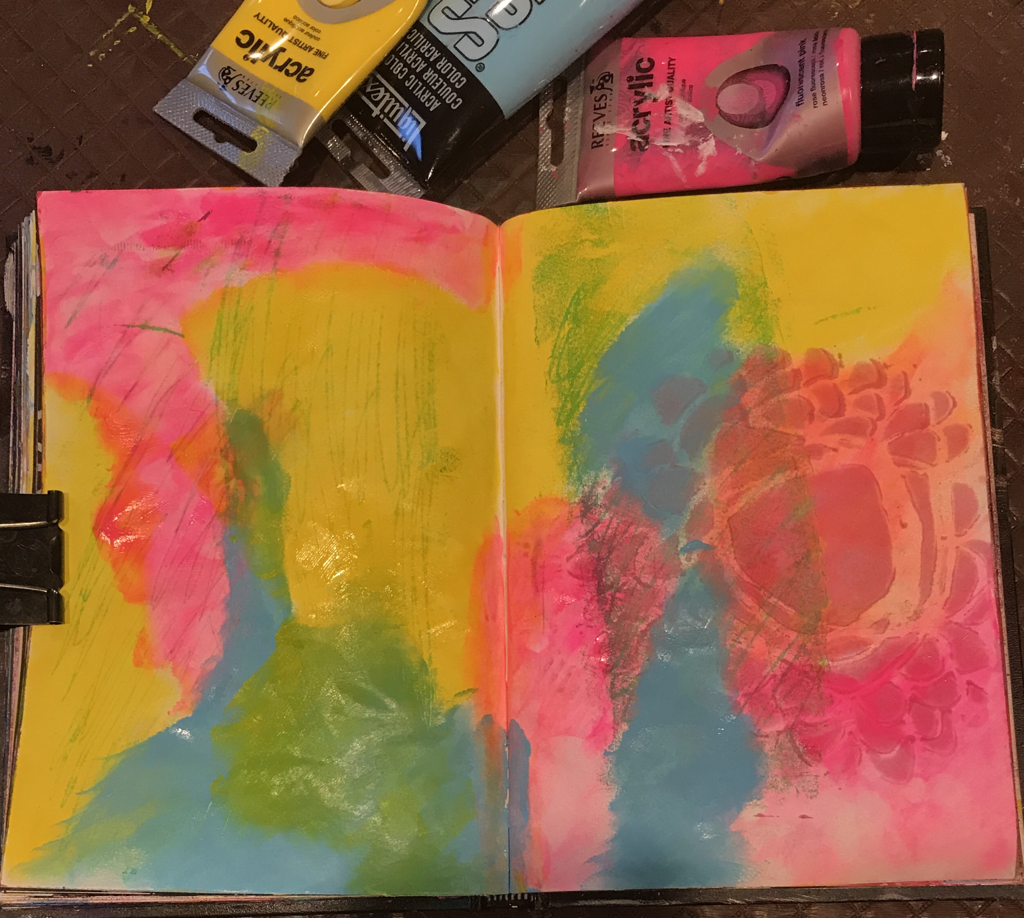 Using Reeves and Liquitex brand acrylic paints I finger painted yellow, light blue and fluorescent pink. I dried these first layers before moving on. 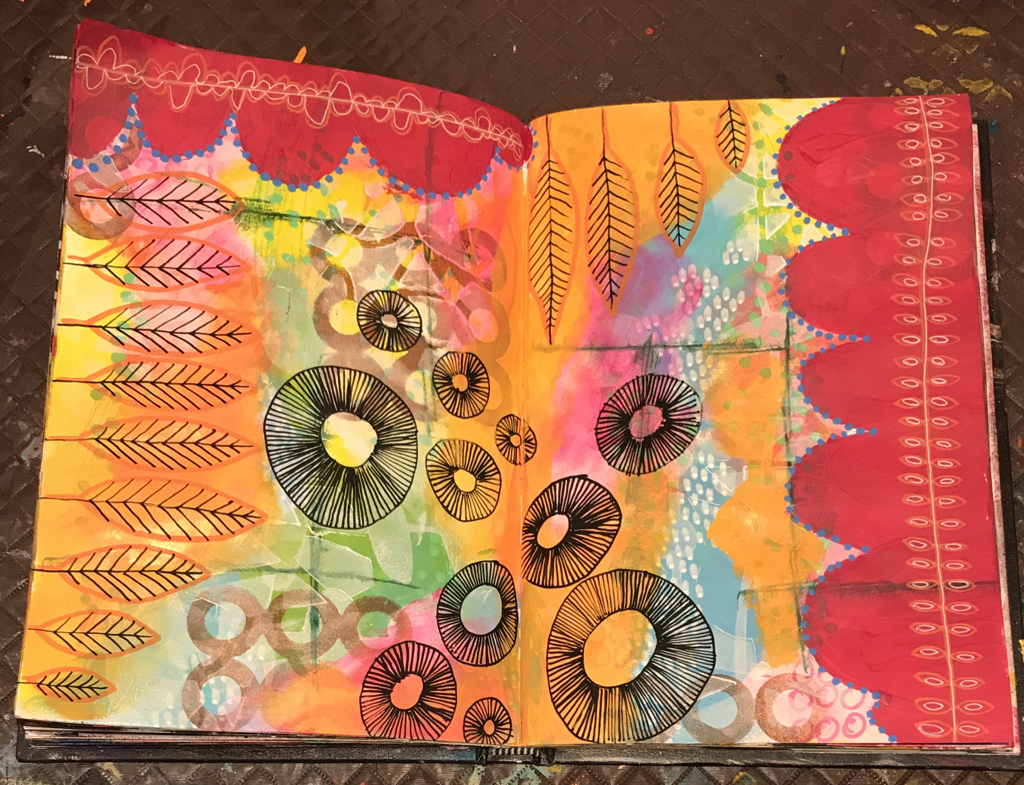 Next I used an art foamy stamp on the page and used the edge of the inking pad to add some lines. Then I used Dylusions white paint and stencilled the background.
I played with Posca paint pens, randomly doodling the background. Then I used a homemade border stencil and painted my borders in Cherry Pie by Dylusions. I also fingerpainted some Squeezed Orange in places. Finally I doodled with the paint pens some more and a white Uniball Signo gel pen. Hope you like it.  Step 1, I started with a double page spread that was used for cleaning up stencils and playing with mandalas.  Step 2, I collaged some gelli printed tissue prints using gel medium under and over the tissue.  Step 3, I stamped some art foamy designs in Archival ink. 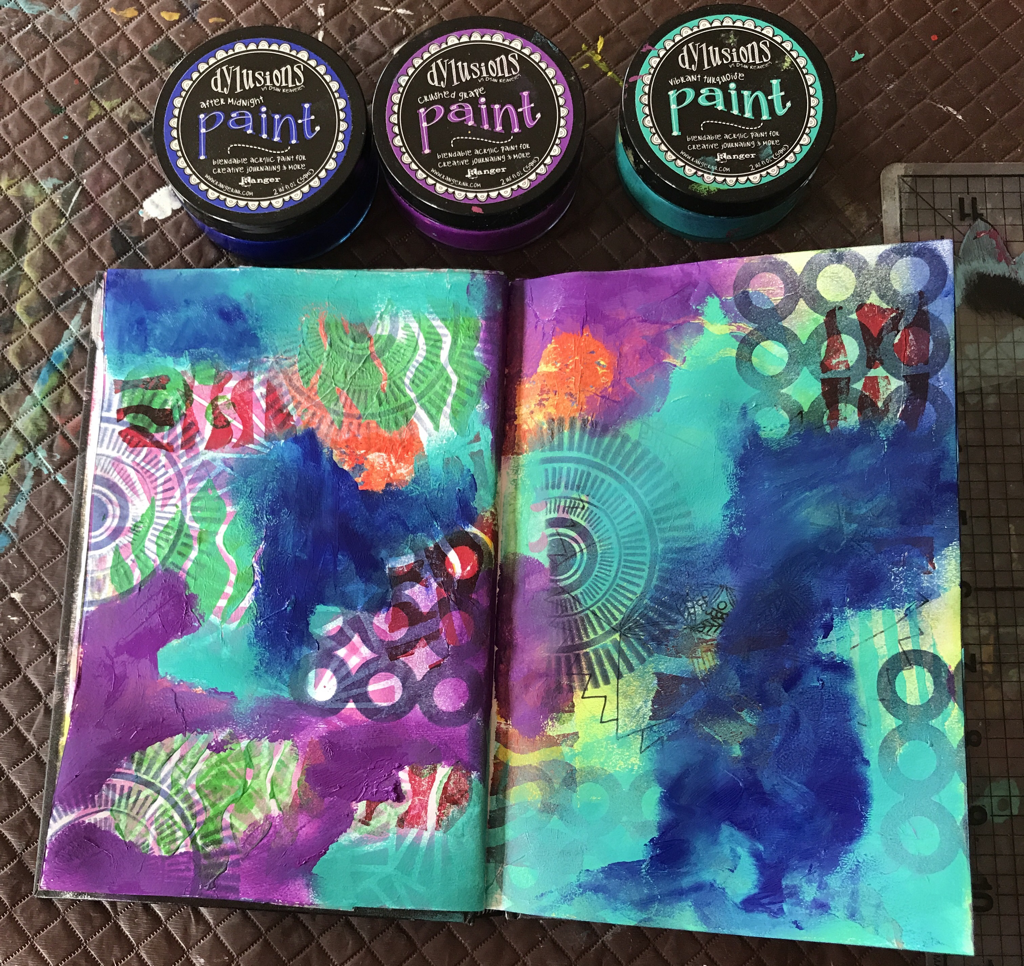 Step 4, I finger painted with three dylusional paint colours. 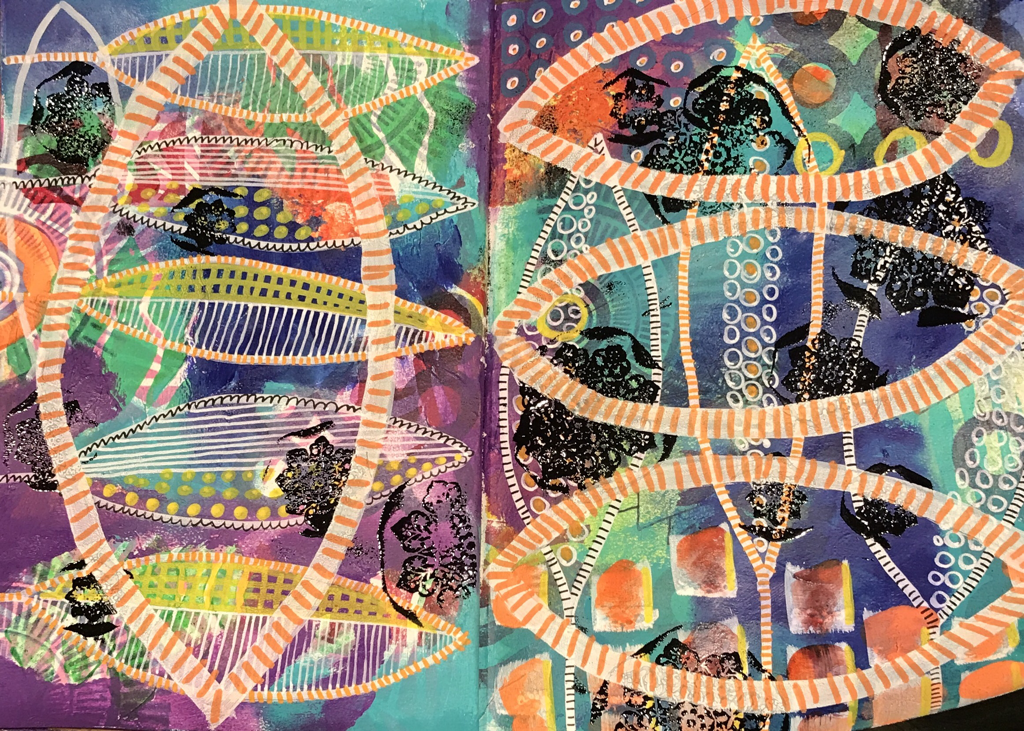 Step 5, I embossed some snowflake designs in black and doodled with Posca paint pens.
 Step 1, I activate the canvas with random brush marks and some light colour.  Step 2, I add some contrast with stencils and a cool colour. 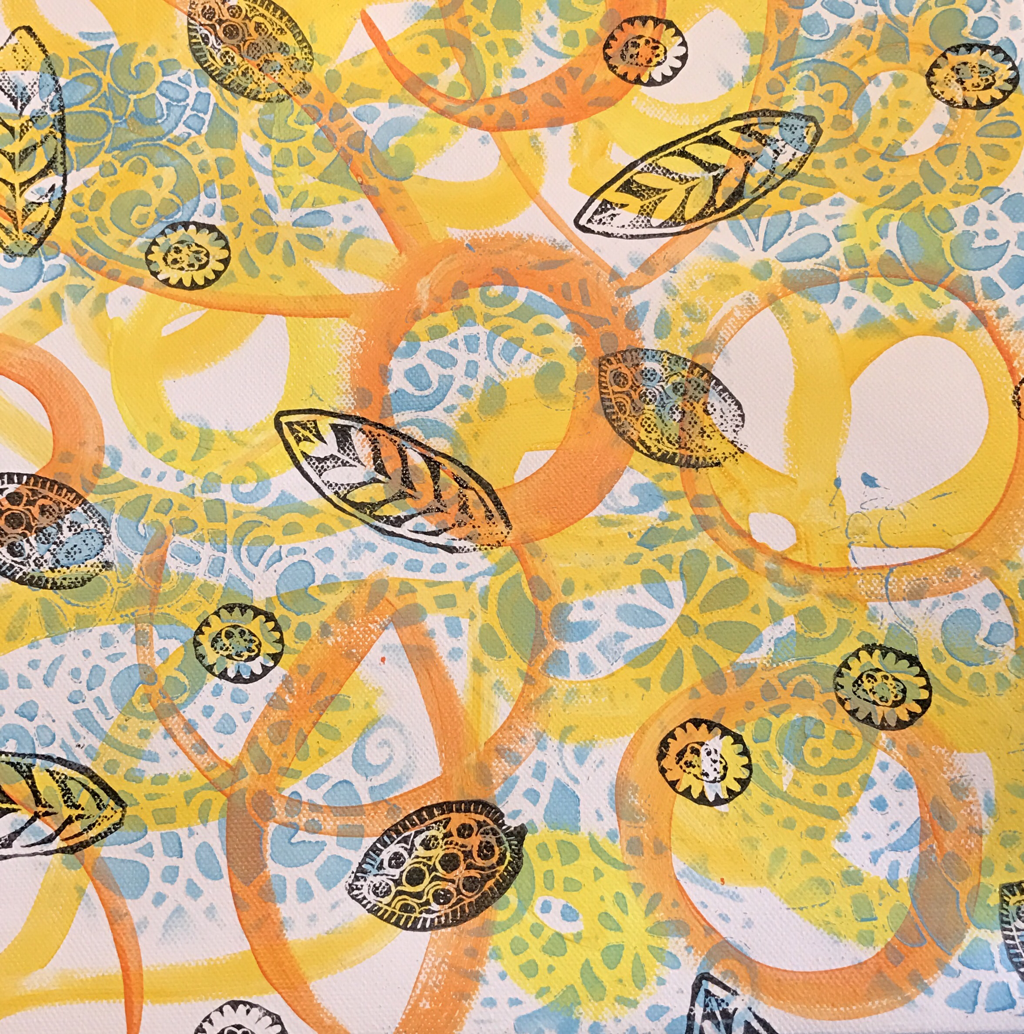 Step3, more contrast, this time with homemade rubber stamps and black ink. 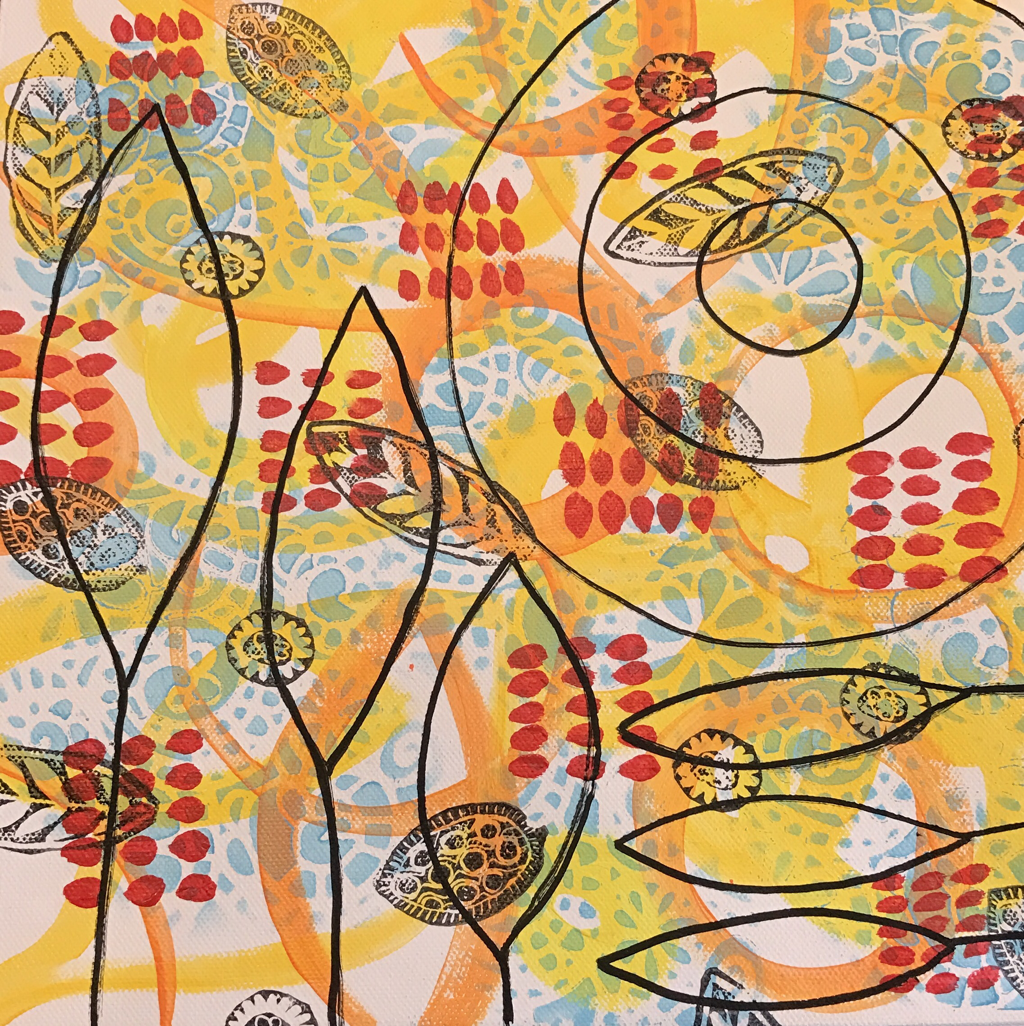 Step 4, adding a bit more colour and pattern and isolating some shapes in black-working with odd numbers is more visually pleasing. 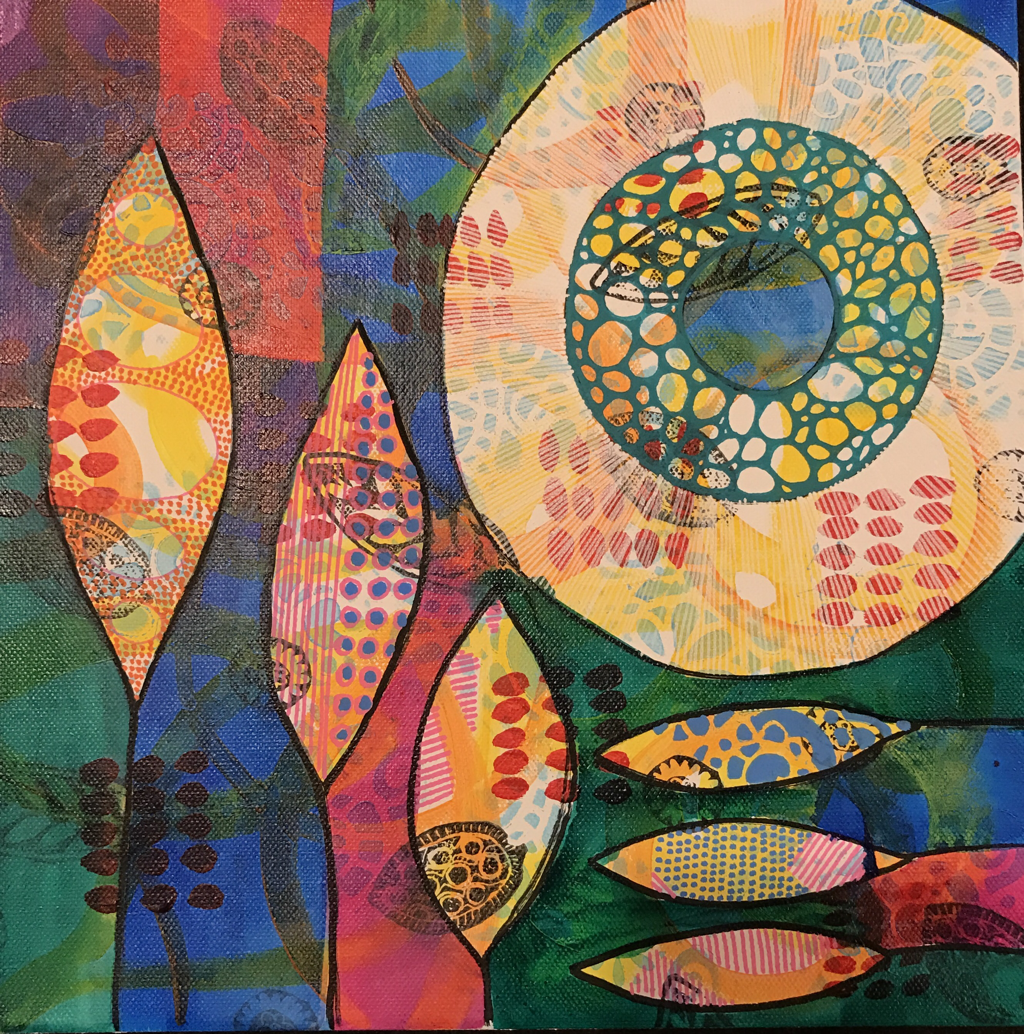 Step 5, ink up the background and doodle with paint pens. And it's finished
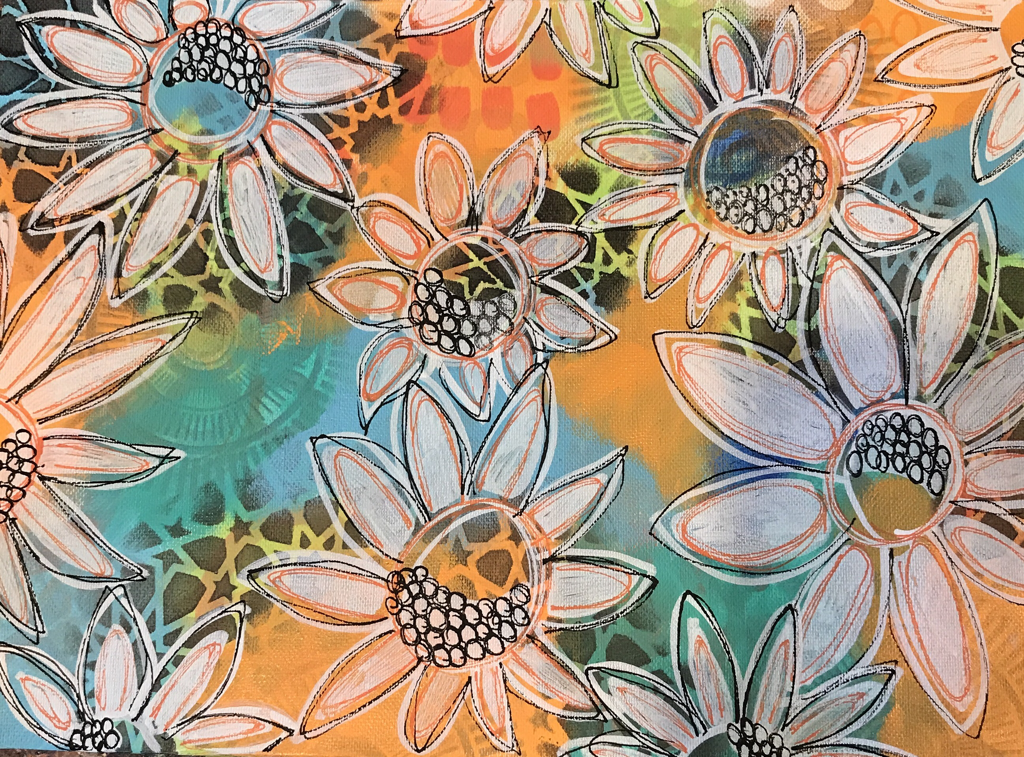
 First I placed some green painters tape (from Bunnings) on the page, this will act as a resist to all the next layers. Then I finger painted in fluro pink, yellow, aqua and light blue. Then using white, blue and rose red I stencilled all over. 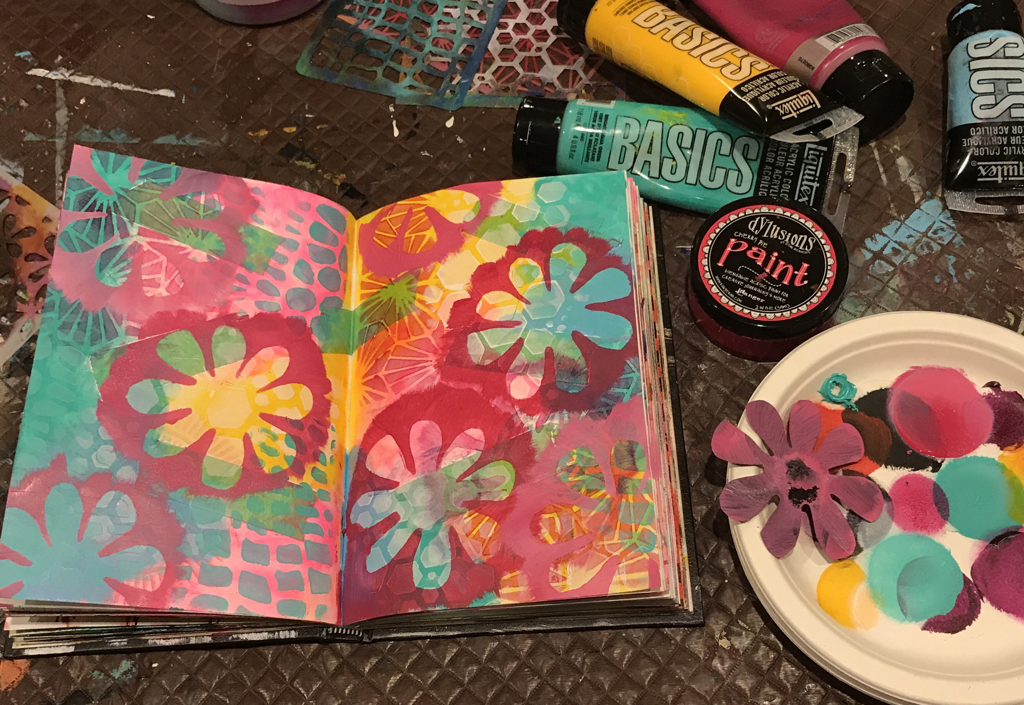 Then I made a mask in the shape of a daisy, out of old X-ray film which I painted on the pages using a mini blending tool and a mix of Dylusions 'cherry pie' and white. 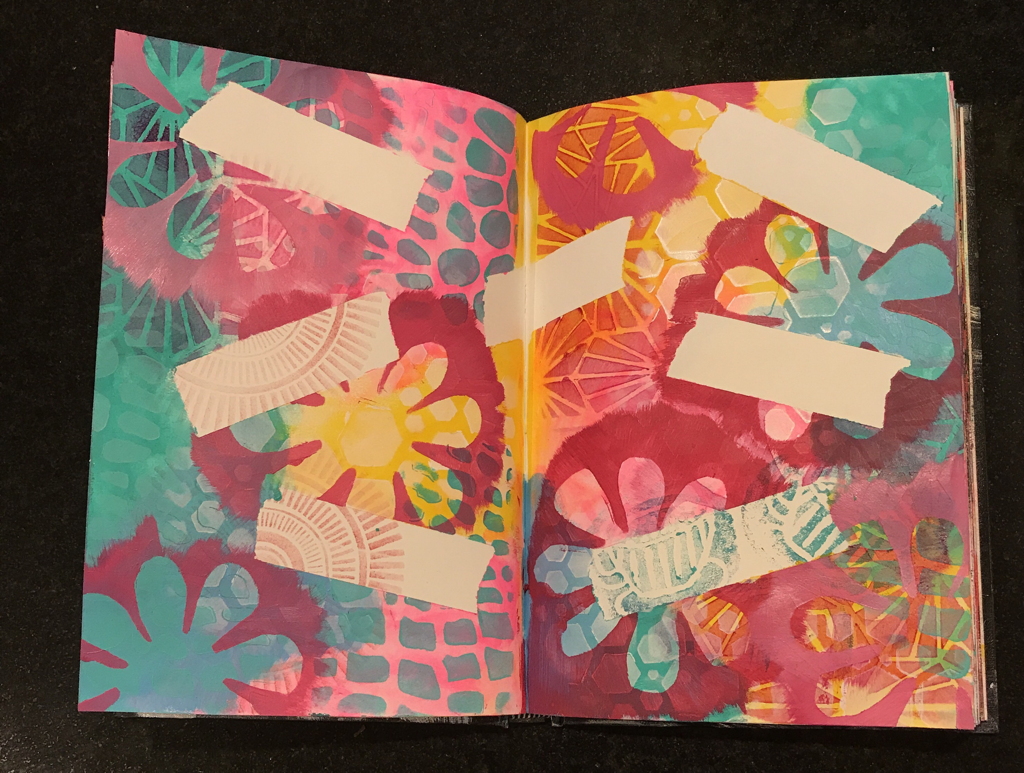 Finally, I removed the tape, revealing the plain (and stamped) surface of the page before the painty layers. These areas can be used for doodling or journaling on.
Step 1. I choose a double page spread, one of the pages had some paint already spread on it. Using yellow, light blue and pink I finger painted over both pages.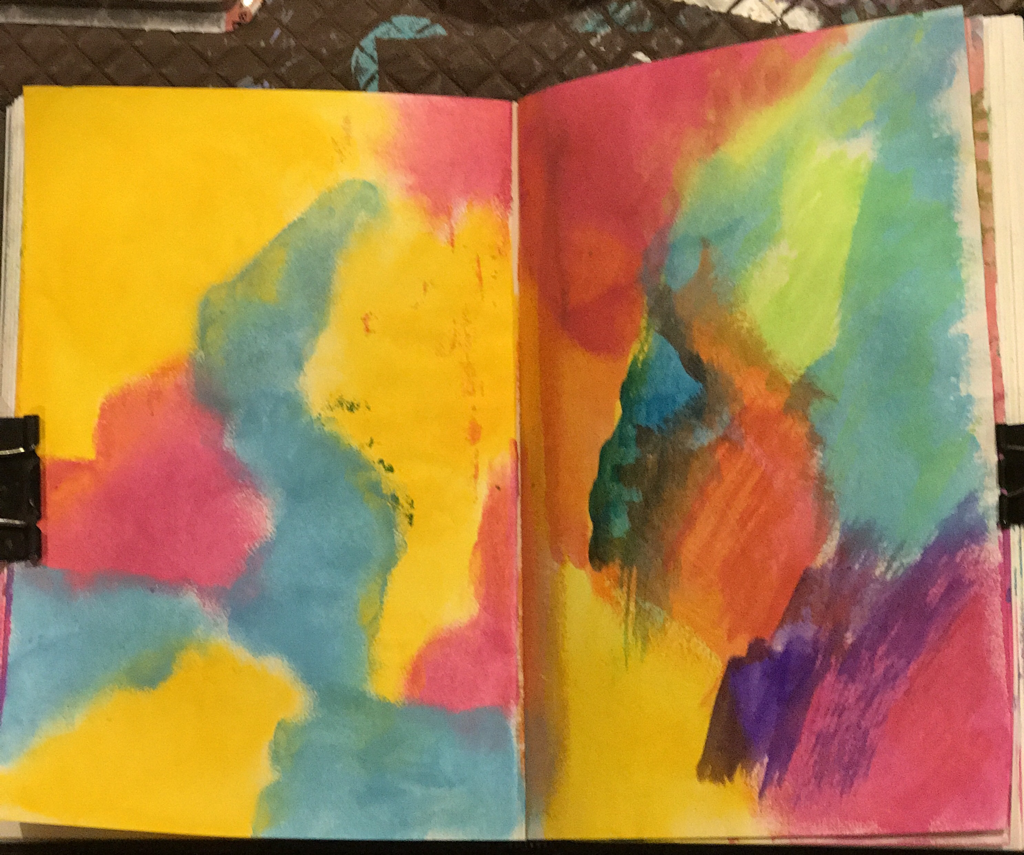 Step 2. I stamped with art foamies and waterproof archival inks. I like stamping with waterproof ink so that it doesn't run when later layers are added. 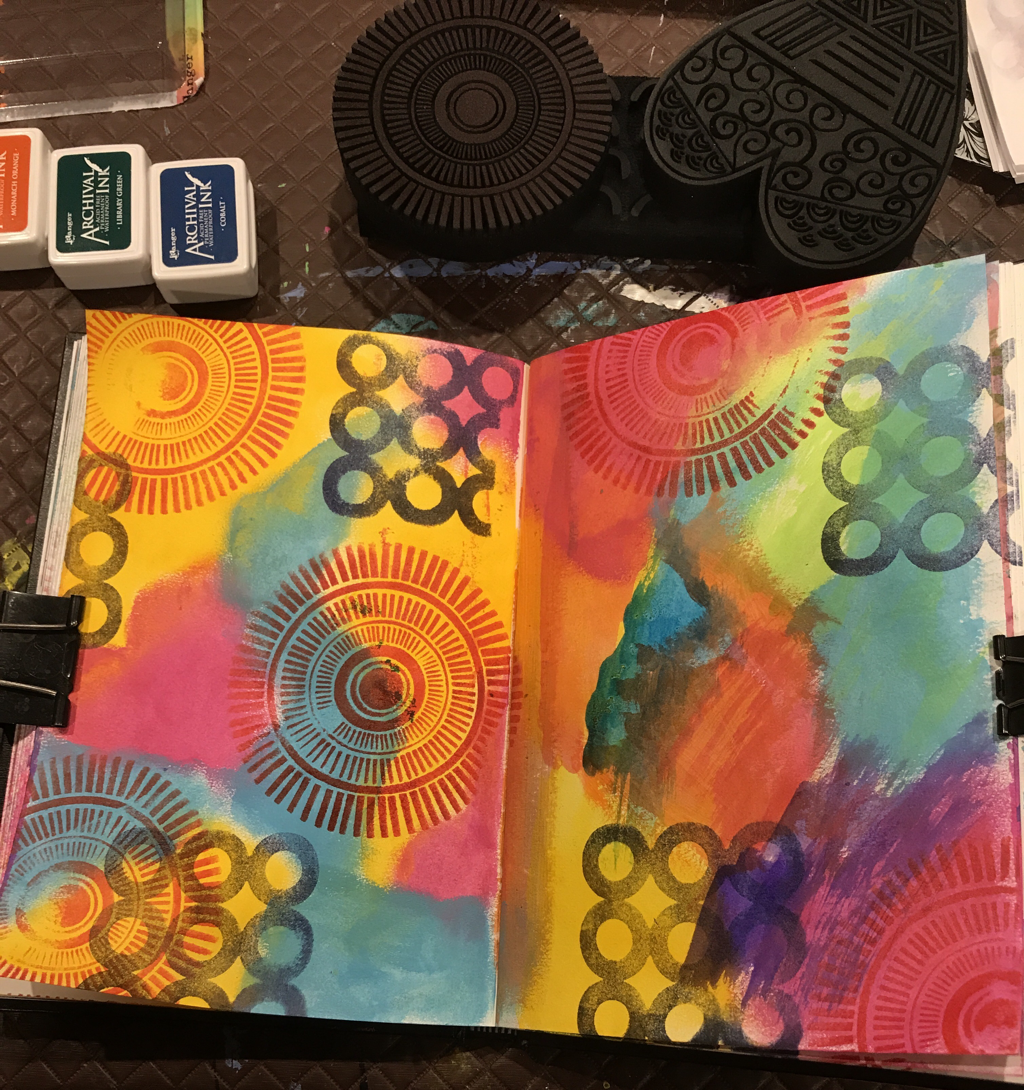 Step 3. Using Dylusions white paint and stencils I applied some design over both pages using a mini blending tool, and a little more paint I blended over other areas with the tool only. 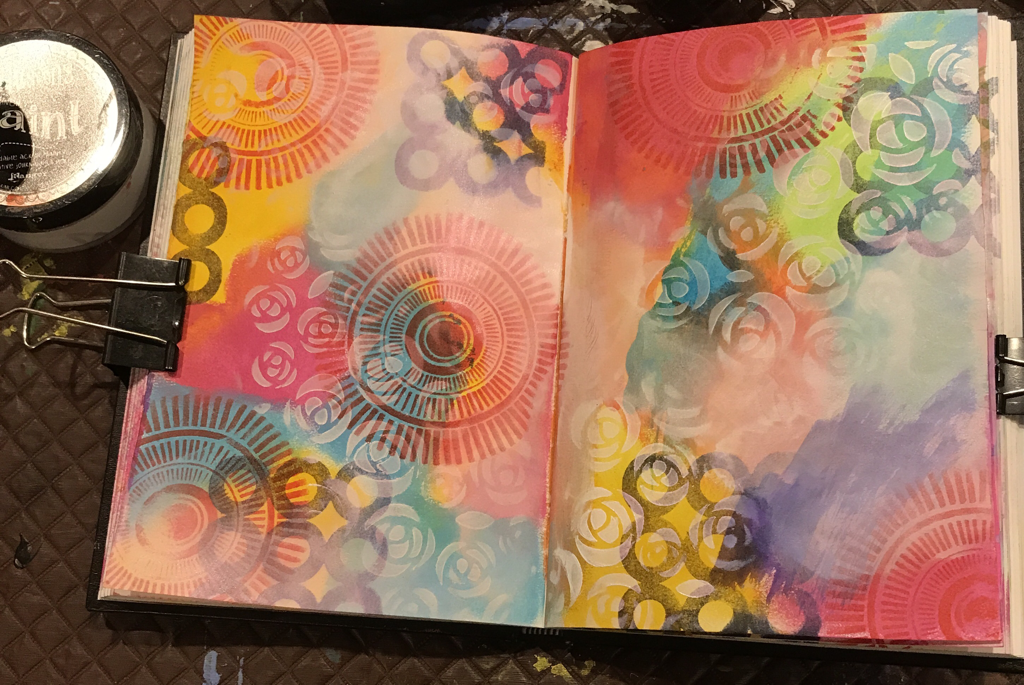 Step 4 I painted a scalloped edge and some circles in blue paint. Lines and song lyrics were scribbled over the page in black Sharpie and Uniball signo white gel pen. I used Matt Medium to glue down some collage elements, made from gelli prints. 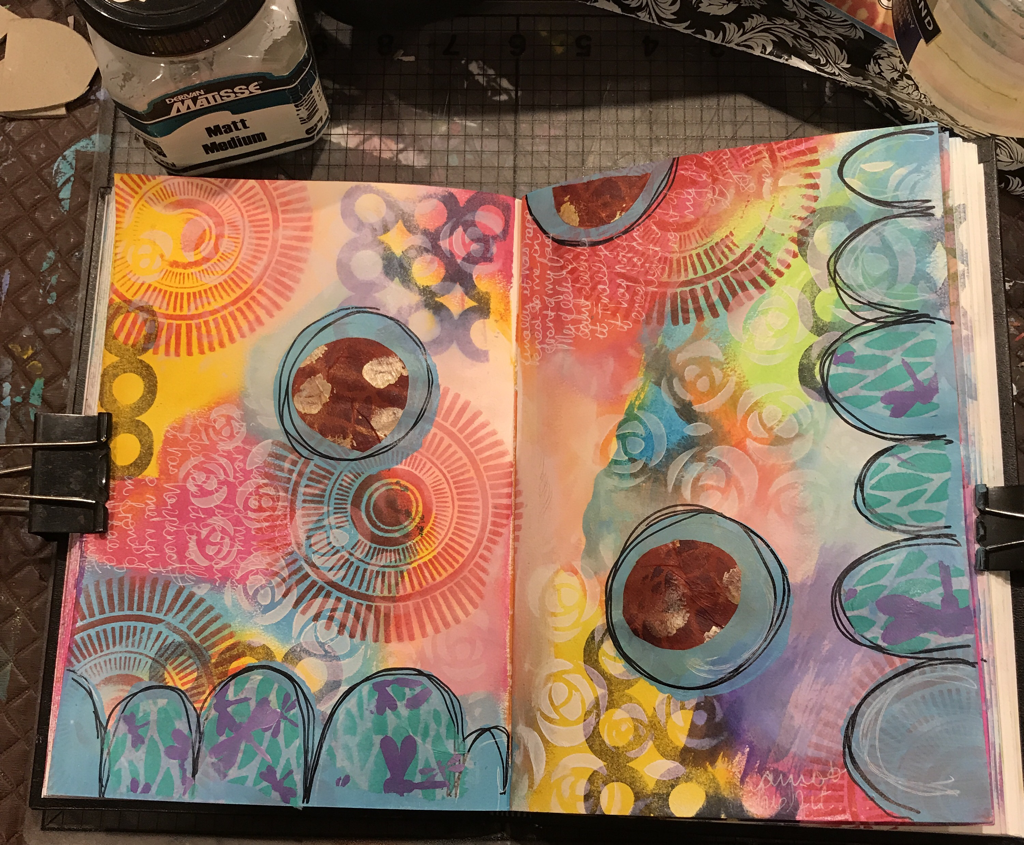 Finally I added some highlights with Reeves gold and silver acrylic using my fingertips 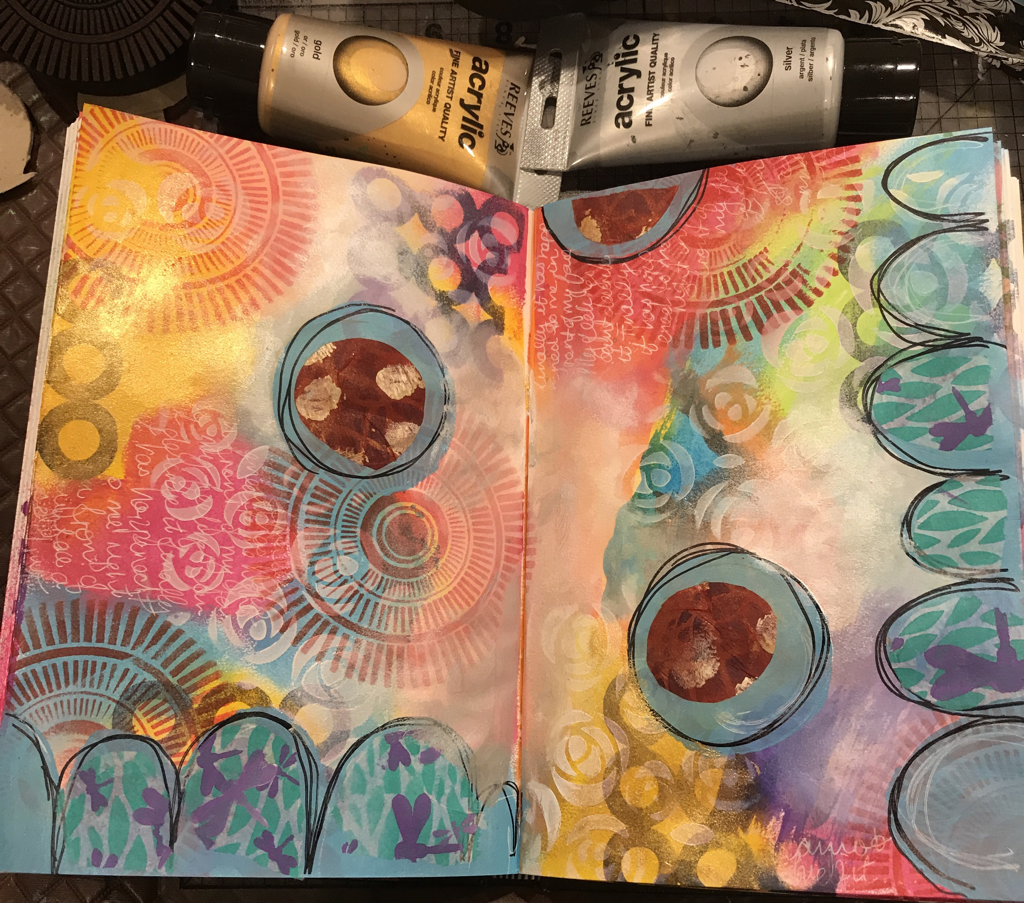 My lovely students explored tone, circles, mark making and a harmonious colour scheme today. We used Canson acrylic paper as our substrate, liquitex basics, Dylusions paint, Daler Rowney ink and Posca paint pens. 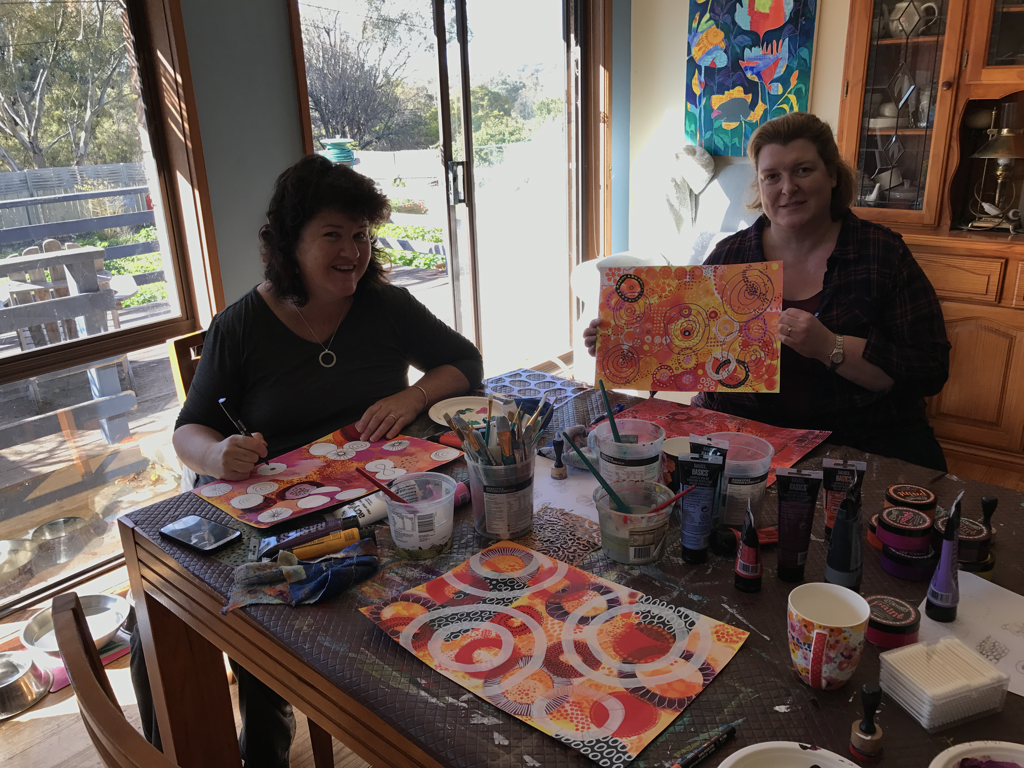 Our painting today was on artist board instead of canvas.
It's a nice firm, smooth substrate to work on. We gessoed then finger painted. Stencilled and rubbed back, developing rich visual and patterned texture. We sought inspiration from floral shapes and lines, then painted and blotted. Line work to finish. Monday night art class, and we talked about layers. Layers of paint and papers. In this piece students were free to paint the background in whatever colours they desired in what ever way they preferred. Next we collaged with gelli prints that we printed the week before. We then experimented with plastic bag monoprints and finally some posca paint pen lines to lighten up the composition. 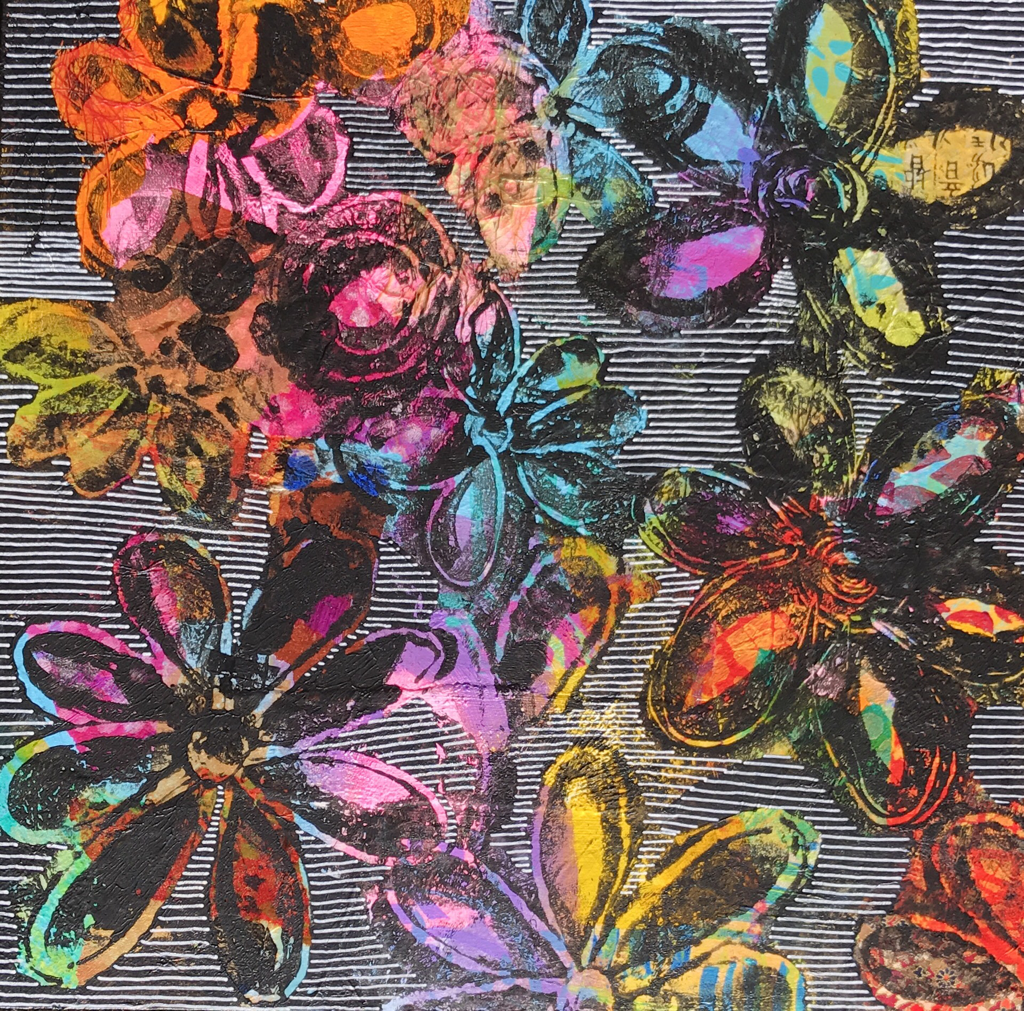 |
About me
I am an artist and teacher and I love to share what I know and what I learn. I was previously a high school art teacher, now I enjoy art journaling, mixed media, pottery, painting and teaching adults from my home studio. 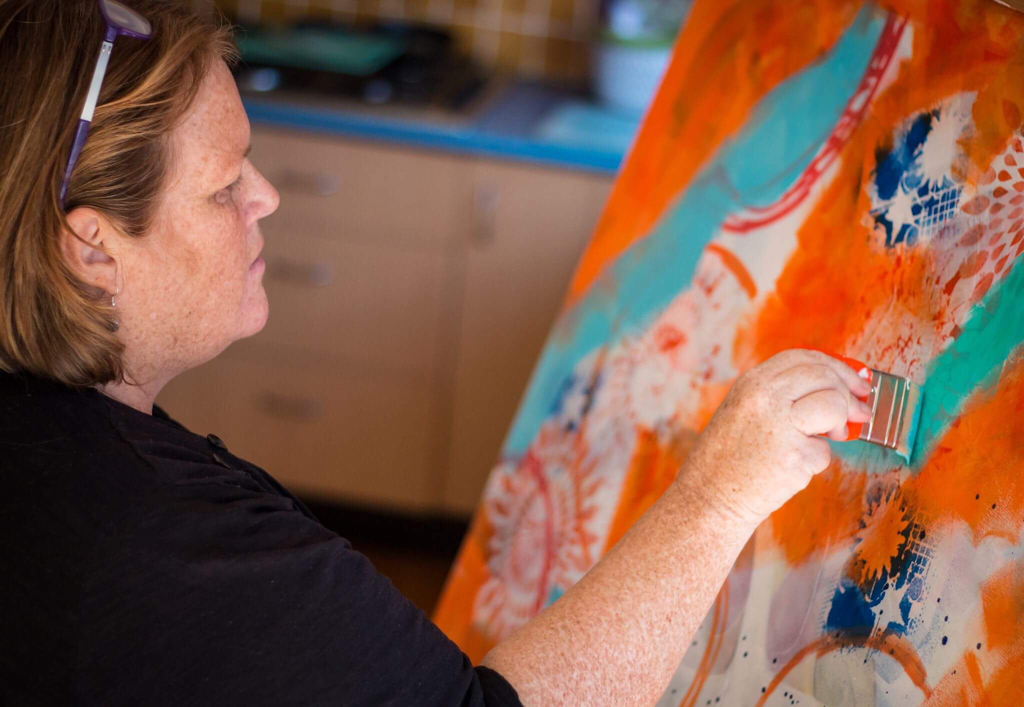
Archives
June 2018
Categories |
 RSS Feed
